Maintenance and renewal
The dreadful weather notwithstanding, I sailed a lot this summer, and have the tan to prove it. I've also had a number of maintenance challenges, all of which have worked out well:
So far, so good. I brought home the tiller and the hatch covers, and got a heat gun, 1 inch scraper, and stripped the parts to clean wood in one morning. Cleaning up the wood was pretty straight forward -- some 150 paper and then 220. I've got two coats on (one per day), and no problems.
The tiller has worked loose from the tiller fork twice this summer, and I decided to try to sort this out as well. I thought I might make a new tiller, and took it up to Andy's shop to see if he had a blank of suitable tiller stock he could deal me. He took a look, and advised me to refinish this one -- steam bent oak, and in good shape but for some cosmetic issues.
I think the loosening problem had to do with the way the screws (6 on each side) were set... some were not perpendicular to the fork, and a couple may have interferred with their opposing number. The screw holes in the fork were a bit haphazard in alignment and placement.
I ended up filling them in with epoxy, drilling new holes for through-bolting, and painting the fork.
I filled the holes in the tiller with dowels, epoxied them in, and drilled new 5 through holes, spaced between the previous 6 pairs of screw holes. This has of course not strengthened the tiller, but the wood is beefy and sound, and I'm guessing that the more solid fork attachment will more than compensate. All of this is moving along fine.
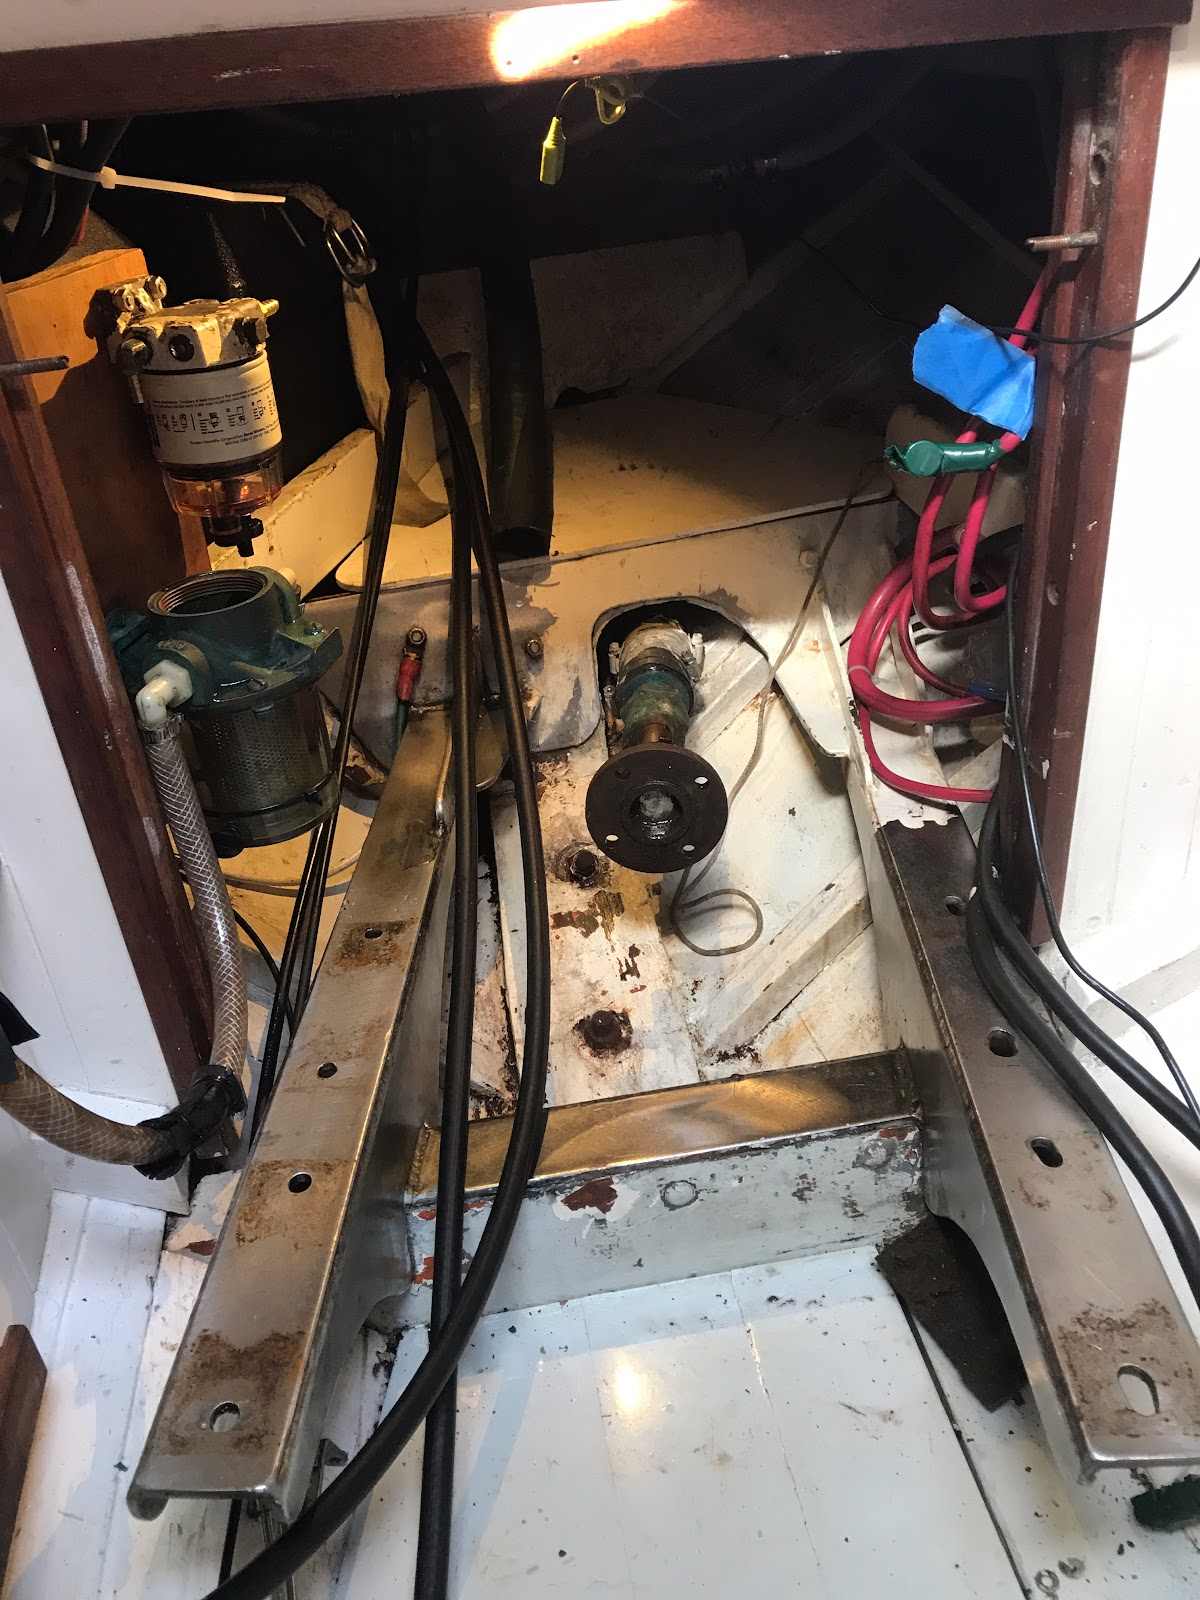
Then there is the house-top. Stay tuned.
- Replacement of the throttle cable - a day and a half job that should have been 2 hours. Lesson: take pictures before you take anything apart.
- Rebuilding blocks - the backstay blocks were in pretty bad shape. They get knocked around on the deck a lot, and the varnish was way overdue for renewal. I took them entirely apart, sheaves included, and refinished them and replaced the leathers. The strops are wire-rope and in good shape, except that they needed to be slushed.
- The recipe for slush in Brion Toss's Rigger's Apprentice:
- 6 parts stockholm tar
- 3 parts boiled linseed oil
- 1 part spar varnish
- 1 part japan drier (I used two parts, because the first batch didn't dry completely... I think the stuff I got was oldish)
- I did lifelines and shrouds as far as I could reach as well with the slush.
So far, so good. I brought home the tiller and the hatch covers, and got a heat gun, 1 inch scraper, and stripped the parts to clean wood in one morning. Cleaning up the wood was pretty straight forward -- some 150 paper and then 220. I've got two coats on (one per day), and no problems.
The tiller has worked loose from the tiller fork twice this summer, and I decided to try to sort this out as well. I thought I might make a new tiller, and took it up to Andy's shop to see if he had a blank of suitable tiller stock he could deal me. He took a look, and advised me to refinish this one -- steam bent oak, and in good shape but for some cosmetic issues.
I think the loosening problem had to do with the way the screws (6 on each side) were set... some were not perpendicular to the fork, and a couple may have interferred with their opposing number. The screw holes in the fork were a bit haphazard in alignment and placement.
I ended up filling them in with epoxy, drilling new holes for through-bolting, and painting the fork.
I filled the holes in the tiller with dowels, epoxied them in, and drilled new 5 through holes, spaced between the previous 6 pairs of screw holes. This has of course not strengthened the tiller, but the wood is beefy and sound, and I'm guessing that the more solid fork attachment will more than compensate. All of this is moving along fine.
Then there is the house-top. Stay tuned.


Comments
Post a Comment